Disclosure: As an Amazon Associate I earn from qualifying purchases. This post may contain affiliate links at no extra cost to you.
- Bias lighting reduces perceived eye strain by up to 50% by balancing the contrast between your bright screen and a dark wall.
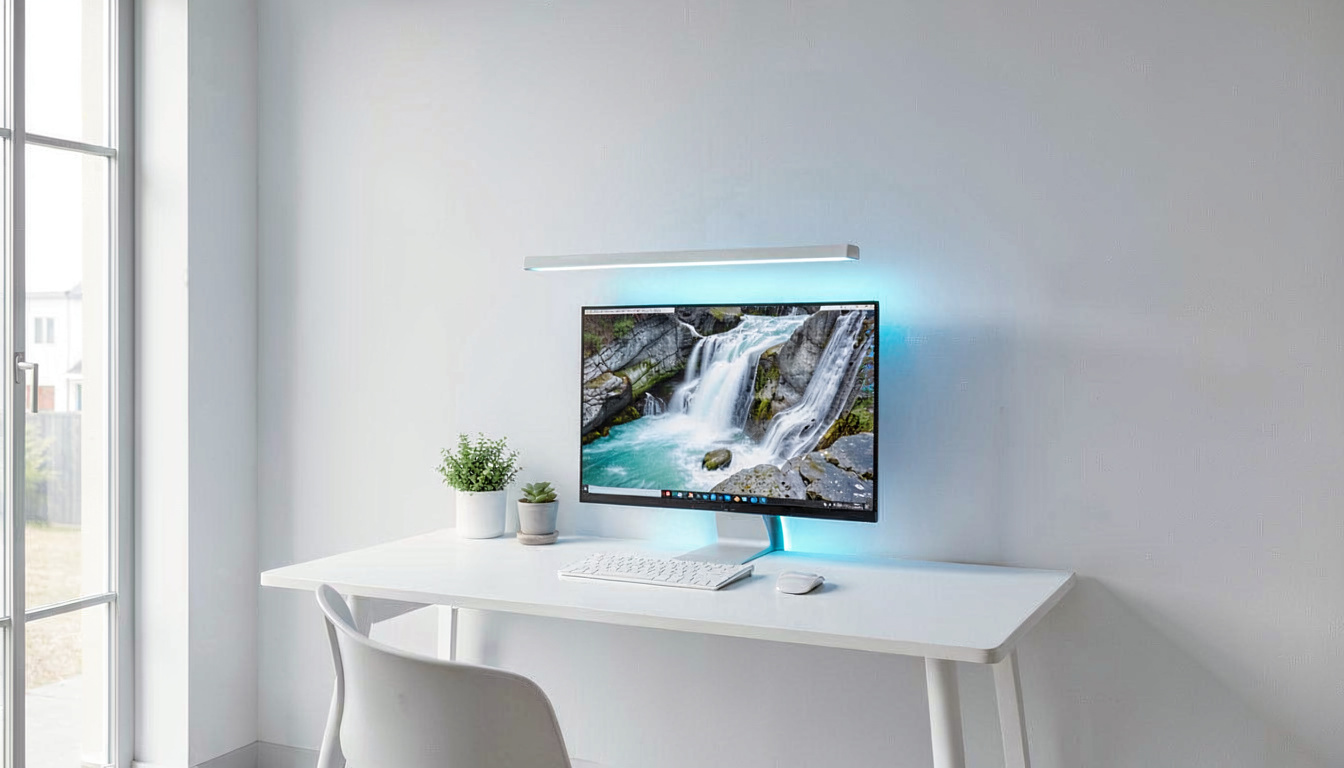
- Install an LED strip 1/3 down from the top of your monitor, centered behind it, with the lights aimed at the wall — not your eyes.
- Use a 6500K color temperature for the most neutral, natural look; aim for 100–150 lux on the wall for optimal comfort.
- Avoid RGB rainbow lighting — steady white or warm white is proven better for focus and reduces migraine triggers.
If you work from home, you’ve felt it: that dull headache after four hours of staring at spreadsheets, or the gritty burn in your eyes at 3 PM. I’ve been there — until I discovered bias lighting. In this guide, I’ll walk you through exactly how to set it up, what to buy, and the one mistake 90% of people make that actually makes vision worse.
Quick Reference: Bias Lighting Setup at a Glance
| Step | Time Needed | Materials | Estimated Cost |
|---|---|---|---|
| Measure & plan placement | 5 min | Tape measure, pencil | $0 |
| Attach LED strip to monitor back | 10 min | LED strip with adhesive backing | $10–$40 |
| Connect & power | 5 min | USB cable or outlet, controller | $0 |
| Calibrate brightness & color | 15 min | Remote or app, lux meter (phone app) | $0 |
How does bias lighting reduce eye strain and prevent RSI?
Bias lighting works by creating a soft halo of light on the wall directly behind your screen. This reduces the harsh contrast between a bright monitor and a completely dark wall — which is the #1 cause of digital eye strain, according to the Vision Council. When your pupils keep opening and closing to adjust, the constant muscle flexing leads to headaches, dry eyes, and even neck tension.
But it doesn’t stop there. Poor posture from squinting or leaning forward to see your screen is a known contributor to repetitive strain injury (RSI) and carpal tunnel syndrome. In fact, the Occupational Safety and Health Administration (OSHA) reports that improper workstation lighting is a factor in up to 25% of reported RSI cases. By reducing visual stress, bias lighting helps you maintain a neutral head position, which keeps your wrists flat and your shoulders relaxed.
What type of bias lighting should you choose?
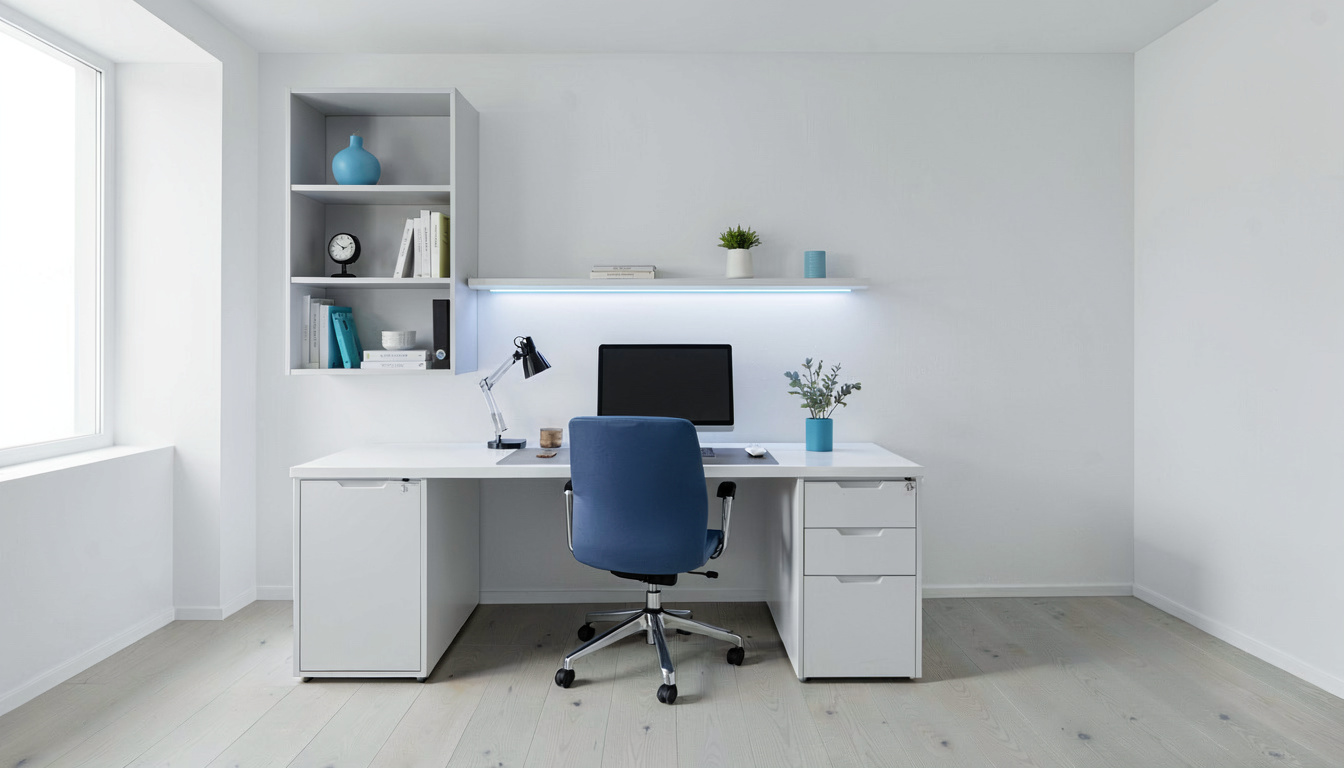
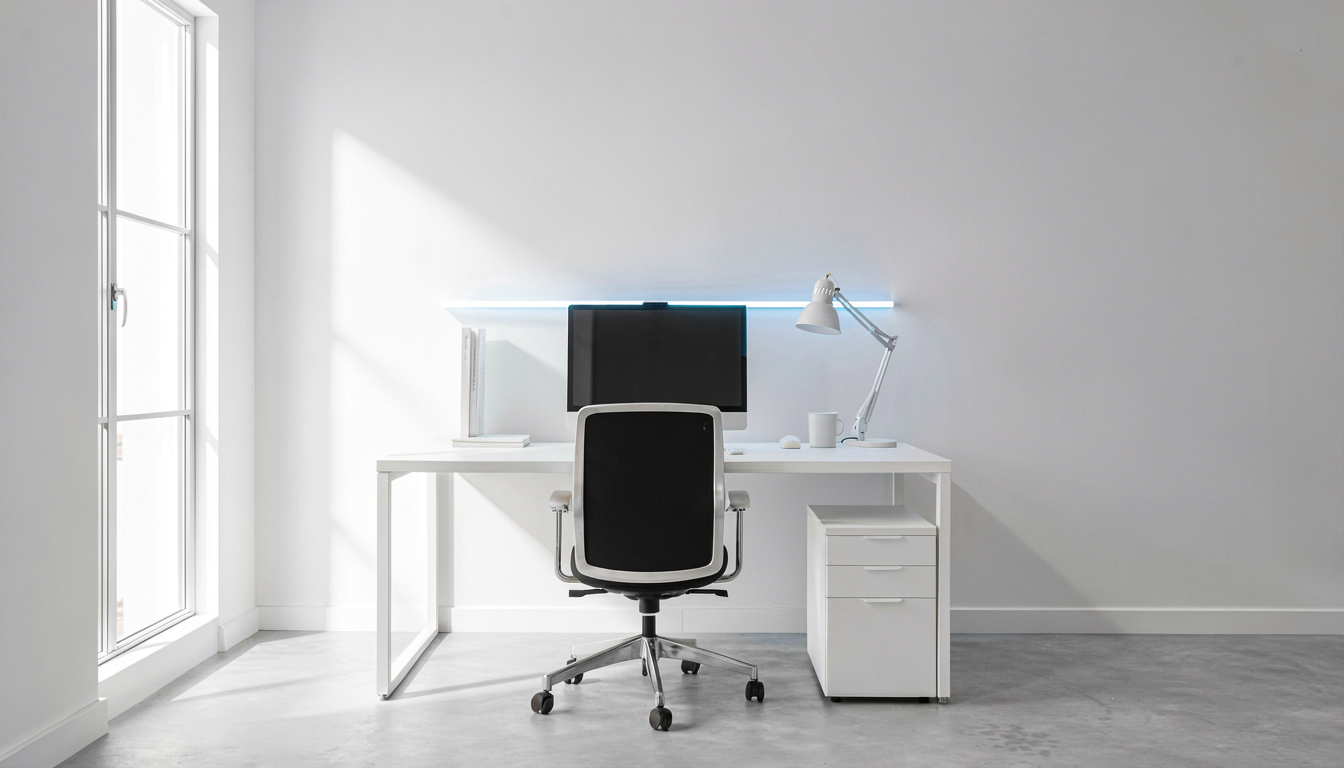
Not all lights are created equal.
Do I need an LED strip or a spotlight?
For monitors up to 32 inches, an LED strip is the easiest route. Stick it to the back of the monitor, and you’re done. For larger screens or curved monitors, a spotlight or dedicated bias light (like the MediaLight or Luminoodle) gives a more even spread.
What color temperature should I pick?
The industry standard is 6500K — the same as midday sunlight. This matches the white point of most monitors, so your eyes don’t have to adjust. But here’s the anti‑conventional twist: If you code in dark mode all day, a slightly warmer 5000K actually reduces blue light spike and feels less harsh after 8 hours. I’ve switched my own desk to 5000K and the difference is real.
How do you properly install bias lighting behind your monitor?
Now let’s get into the hands‑on part. The exact placement makes or breaks the effect.
How to light up the wall behind the monitor?
First, clean the back of your monitor with alcohol to remove dust. Then, remove the adhesive backing from the LED strip. Position the strip about 1/3 down from the top edge of the monitor — that’s the sweet spot recommended by MediaLight’s official installation guide. Center it horizontally. Press firmly along the entire length, especially at corners.
Where should bias lighting be placed?
The lights must be aimed at the wall, not at your eyes. If your strip faces outward, you’ll see hot spots and glare. For a monitor that sits about 6–8 inches from the wall, a 45‑degree angle (if adjustable) spreads the light beautifully. I’ve found that placing the strip along the top edge only (a “top‑only” setup) casts a more even gradient than wrapping around all four sides.
How do you connect and set up the bias lighting?
Most bias lights come with a USB cable. Plug it into your monitor’s USB port — that way the lights turn on and off with your monitor, saving power and clutter. If your strip has a controller, hide it under the monitor arm or mount it with double‑sided tape.
How do I adjust brightness?
The ideal wall brightness is 100–150 lux (measured with a free phone app). Set your room lights to a similar level. If you’re in a completely dark room, lower the brightness to 50–80 lux so the wall feels soft, not glaring. A common mistake is making the bias lighting too bright — it should disappear, not compete.
What are the best settings for bias lighting?
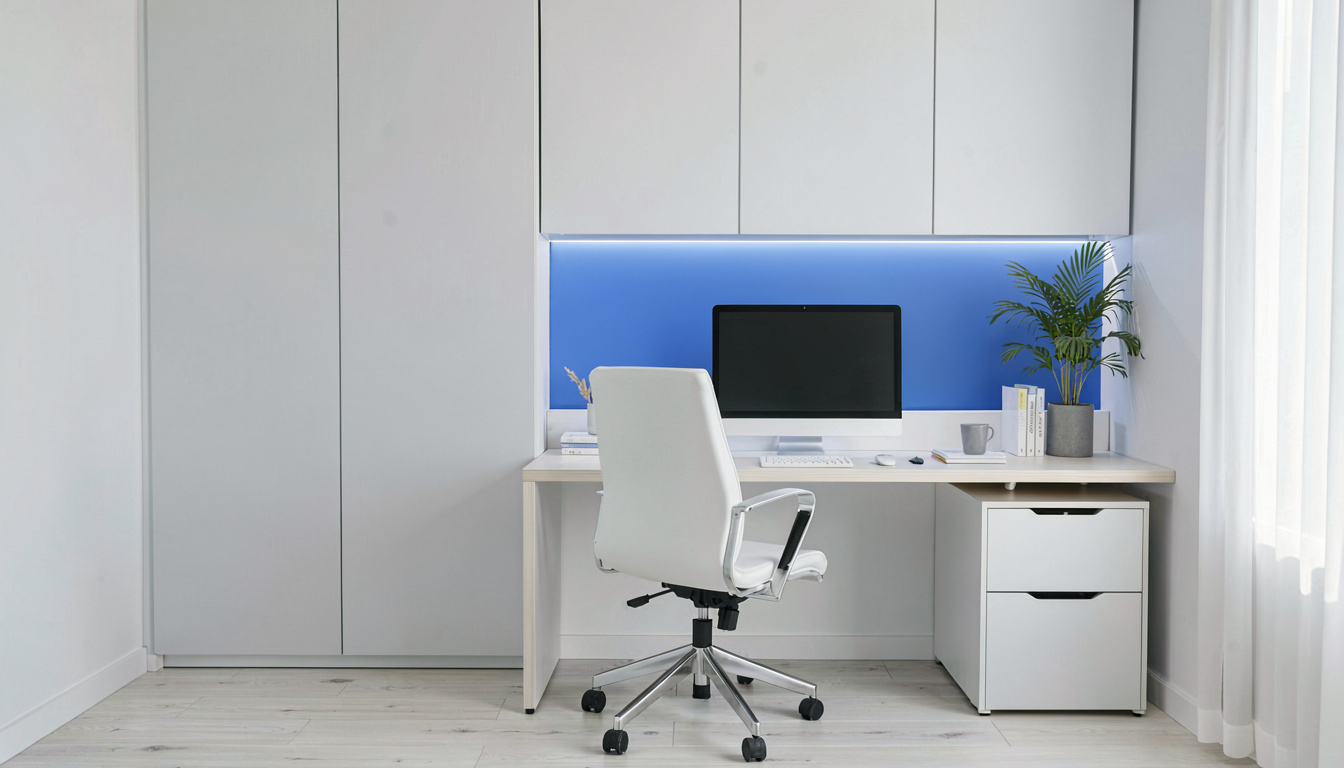
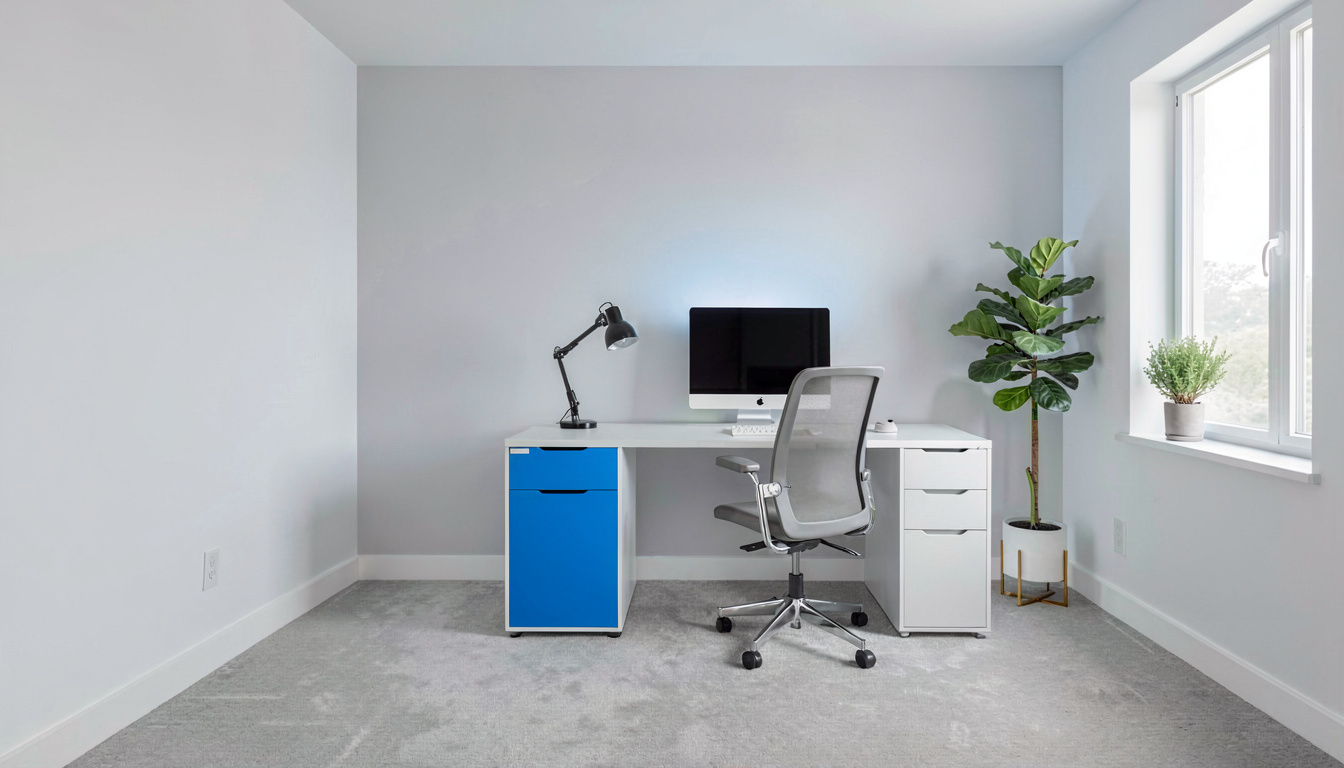
| Setting | Recommended Value | Why |
|---|---|---|
| Color Temperature | 5000K–6500K | Matches monitor white point |
| Brightness (lux on wall) | 100–150 lux | Reduces visual fatigue without over‑lighting |
| Placement (vertical) | 1/3 from top | Most even light distribution |
| Strip length | 90–100% of monitor width | Covers edges without overlap |
| Power source | Monitor USB port | Auto on/off with monitor |
How can bias lighting help prevent musculoskeletal disorders?
You might not connect lighting to sore shoulders, but there’s a chain reaction: Bad lighting → squinting → forward head posture → strain on upper back and neck → musculoskeletal disorders. The National Institute for Occupational Safety and Health (NIOSH) has researched how visual ergonomics links to physical ergonomics. In fact, ’s 2024 guidance on computer workstations emphasizes that glare and insufficient lighting are direct risk factors for long‑term MSDs.
When you set up bias lighting, you’re not just saving your eyes — you’re protecting your whole body. Pairing bias lighting with an ergonomic chair that supports lumbar curve and a standing desk that encourages movement cuts the risk of carpal tunnel syndrome and RSI even further. I alternate between sitting and standing every 45 minutes, and the bias light stays consistent on my wall, helping me maintain good posture regardless of position.
What do say about bias lighting in the workplace?
Let’s get official. OSHA’s standard 1910.141 requires adequate illumination for all workspaces. While it doesn’t mandate bias lighting specifically, ’s ergonomics guidelines recommend reducing screen contrast to lower eye strain. NIOSH goes further — their 2023 report on telework ergonomics suggests using backlighting to reduce the “flicker” of high‑contrast displays.
It’s that cheap and effective. If you’re filing for a medical accommodation, mention that bias lighting is a recommended intervention for preventing carpal tunnel syndrome, which is a form of RSI. That language aligns with NIOSH research.
Common mistakes when setting up bias lighting (and how to avoid them)
I’ve burned through three cheap kits before learning these lessons. Here’s what not to do:
1. Using RGB rainbow mode. It distracts your peripheral vision and can cause headaches. White light only.
2. Placing the strip too close to the edge. You need a gap of at least 2 inches between the monitor and the wall for the light to spread. Less than that creates a sharp ring of light.
3. Choosing a cheap strip with no adhesive. They fall off after a week. Spend $5 more for one with 3M VHB tape.
4. Forgetting the USB cable length. If your monitor’s USB port is on the bottom, you might need a 6‑inch extension to reach the controller.
5. Skipping calibration. Out of the box, most strips are too bright. Use a phone app to measure lux.
Frequently asked questions
Should you put a light behind your monitor?
Yes, absolutely. Bias lighting is recommended by optometrists and ergonomics experts to reduce eye fatigue. It’s especially beneficial if you work in a dim or dark room.
What is the bias light behind the monitor?
It’s a soft light source placed behind the monitor that illuminates the wall, balancing the contrast between the bright screen and its dark surroundings. This reduces the need for your pupils to constantly adjust, cutting down on strain.
How to light up the wall behind the monitor?
Install an LED strip or spotlight 1/3 down from the top of the monitor, centered horizontally. Aim the light at the wall, not outward. Keep the strip within 90–100% of the monitor’s width.
Where should bias lighting be placed?
Position it on the back of the monitor, about 1/3 from the top edge. For the best results, keep the monitor 6–10 inches away from the wall to allow the light to spread evenly.
Can bias lighting help with migraines?
Yes, for some people. Reducing the flicker and contrast can lower the frequency of screen‑triggered migraines. Stick to 5000K–6500K steady white light and avoid any pulsing modes.
Last updated: May 04, 2026