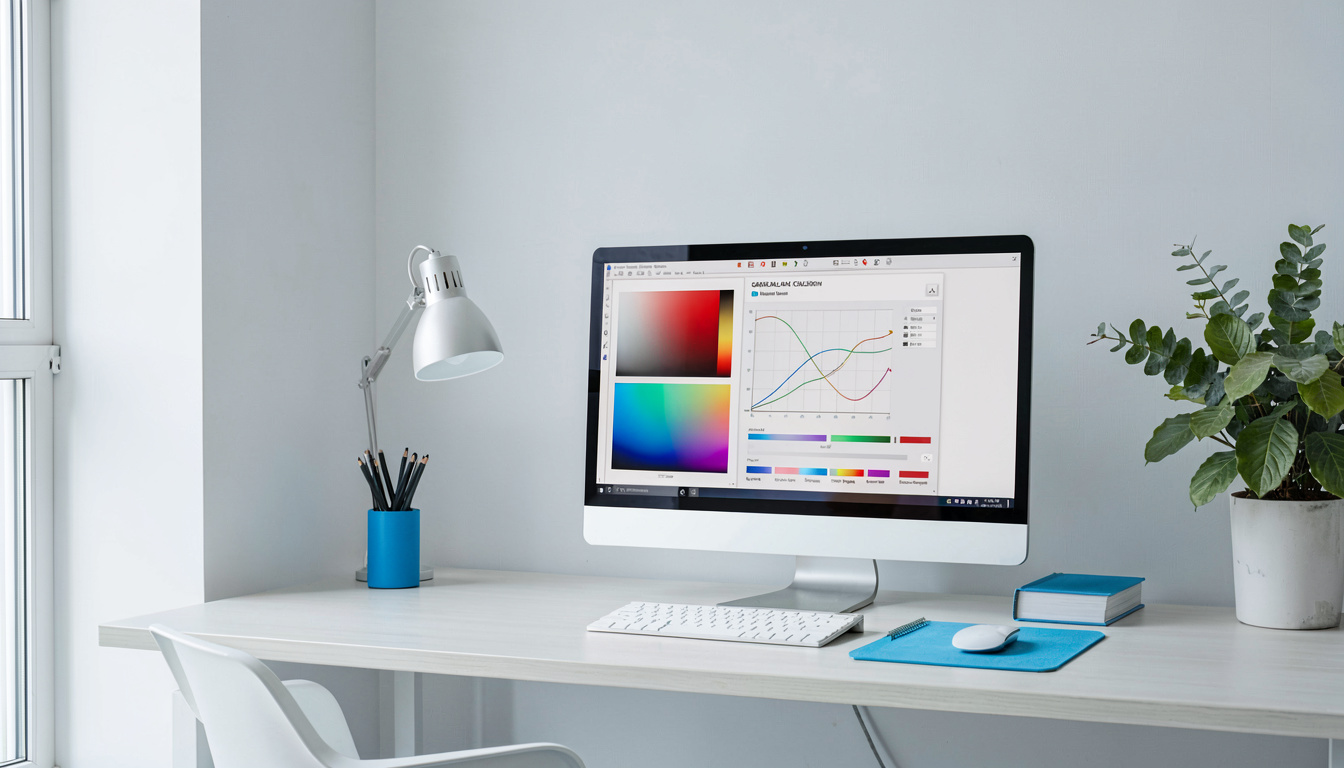
Disclosure: As an Amazon Associate I earn from qualifying purchases. This post may contain affiliate links at no extra cost to you.
- Monitor calibration aligns your screen’s colors, brightness, and contrast to a known standard, ensuring what you see on-screen matches your prints, client displays, and real life.
- You can start immediately using the free built-in tools on Windows (Display Color Calibration) and macOS (Display Calibrator Assistant) without spending a cent.
- For professional work, a hardware colorimeter like the Datacolor Spyder X2 or Calibrite Display Plus HL provides measurable, ambient-light-aware accuracy where eyeballing fails.
- Recalibrate every 2-4 weeks. Monitors drift naturally over time, and skipping this makes your initial calibration useless within months.
What is monitor calibration and why is it non-negotiable for accurate colors?
Imagine editing a product photo that looks perfect on your screen—deep crimsons, subtle teals in the shadows—only to have the client message you that it looks washed out and green on their display.
Or printing a family portrait that comes back from the lab with skin tones closer to a Simpson character than a human being.
The culprit? Your monitor isn’t telling you the truth.
Monitor calibration is the process of adjusting your display’s white point, gamma, luminance, and color gamut to match a standard reference. A properly calibrated display within the sRGB color space should target a white point of 6500K (D65) and a gamma of 2.2. Most monitors ship from the factory too bright, too blue, and with oversaturated colors designed to catch your eye on a retail shelf—not to give you accurate work.
Here’s the thing: skipping calibration doesn’t just affect photographers and designers. If you spend hours staring at a poorly calibrated screen, your eyes work harder to resolve fuzzy text, crushed shadows, and searing backlights. And there’s a compounding problem most guides won’t mention.
Visual comfort, not just color fidelity. An uncalibrated display forces micro-squinting, forward head posture, and sustained tension in the neck and shoulders. In the short term, that’s eye strain.
Over months and years, prolonged poor posture and repetitive strain can contribute to musculoskeletal disorders—a category of injury identifies as one of the most common workplace health hazards.
Accurate calibration is a visual quality issue, yes. But it’s also an ergonomic one. You’re going to fix both in this guide.
| Step | Tool | Time | Cost |
|---|---|---|---|
| 1. Visual calibration (software) | Windows / macOS built-in | 10-15 minutes | Free |
| 2. Hardware calibration | Spyder X2 / Calibrite Display | 5-10 minutes | $100–$300 |
| 3. Ambient light control | Curtains, monitor hood, bias lighting | Setup once | $20–$80 |
| 4. Validation & profiling | Colorimeter + software report | 2-5 minutes | Included with device |
How do I calibrate my monitor using built-in tools on Windows and macOS?
Both Windows and macOS include free calibration wizards that guide you through brightness, contrast, gamma, and color balance adjustments by eye. These tools don’t measure your display with a sensor—they rely on your perception—but they’re dramatically better than doing nothing. As of 2026, the built-in options remain the recommended first step for anyone who doesn’t yet own a hardware colorimeter.
What adjustments does built-in calibration actually make?
Built-in calibration tweaks your GPU’s Look-Up Table (LUT). It adjusts brightness and contrast using your monitor’s physical controls, then refines gamma and color temperature via software sliders that overlay test patterns for you to match.
The goal is a white point of 6500K and gamma of 2.2—the same standards a colorimeter targets—but visual calibration introduces guesswork. The human eye is notoriously bad at judging neutral gray. Your brain auto-white-balances everything you see, which is why a colorimeter exists.
How does Windows Display Color Calibration work?
On Windows 10 and 11, the Display Color Calibration tool walks you through gamma, brightness, contrast, and color balance adjustments using on-screen test images. It’s tucked away, but doing it once correctly resets your entire color experience.
Here’s the step-by-step workflow:
Open the Start menu and type “Calibrate display color.” Select the result that appears. If you have multiple monitors, drag the calibration window onto the display you want to adjust. Hit Next.
The wizard first asks you to reset your monitor to factory default color settings. Use your monitor’s on-screen display (OSD) buttons to find the reset option—most manufacturers like Dell and LG put it under a “Color” or “Reset” menu.
Do not skip this step. If you’ve previously cranked contrast to 100 and tinted the screen warm, you’re calibrating on top of a mess.
Next, the gamma adjustment screen appears. You’ll see a series of dots inside circles. The goal is to make the dots as invisible as possible by blending them into the surrounding gray.
Move the slider until the dots nearly disappear in the center of each circle. The sweet spot is almost always around the midpoint of the slider—a value near 2.2.
Brightness and contrast follow. The wizard shows you an image of a man in a black suit against a black background. Adjust your monitor’s physical brightness control until you can just barely distinguish the suit from the background—visible, but not glowing.
Contrast pushes the white shirt against a white background; you want the shirt buttons to remain distinct without the white bleeding.
Finally, color balance presents red, green, and blue sliders. The goal is a neutral gray with no color cast. Squint at the test squares.
If you see a hint of pink, pull red down. Too teal? Pull green back. Don’t overthink it—get to a place that looks neutral to your eyes.
Can I calibrate a Mac display without buying anything?
Yes—macOS includes the Display Calibrator Assistant, which generates an ICC color profile based on your visual adjustments to native white point, gamma, and luminance. Found under System Settings > Displays > Color Profile > Customize, the assistant uses a similar pattern-matching approach to Windows but accounts for Apple’s factory calibration.
Apple displays ship with a tighter factory calibration than most Windows monitors. The default “Color LCD” profile on a MacBook Pro already targets P3 wide color gamut with decent delta-E values out of the box.
But every panel drifts over time. The backlight ages. If you’ve never recalibrated since unboxing, your display is no longer accurate.
Launch the assistant and enable Expert Mode—this exposes the full set of controls. The process asks you to match a series of nested Apple logos to a target brightness, then adjust luminance using your keyboard.
The native white point slider lets you tune between warm (D50, 5000K) and cool (D65, 6500K). For web work and video, target D65. For print matching, D50.
The critical step most Mac users miss: after calibration, go to System Settings > Displays > Color Profile and verify the new profile is selected from the dropdown rather than reverting to the default. macOS sometimes silently switches back after a restart.
“Visual calibration alone is a starting point, not a finishing point. The human visual system adapts to color casts within seconds, so the eye will accept a 7000K screen as neutral after two minutes of viewing.
Without a measurement device, a calibration session can end with a screen that is too warm or too cold, and you will not notice.”
How does hardware calibration work with a colorimeter?
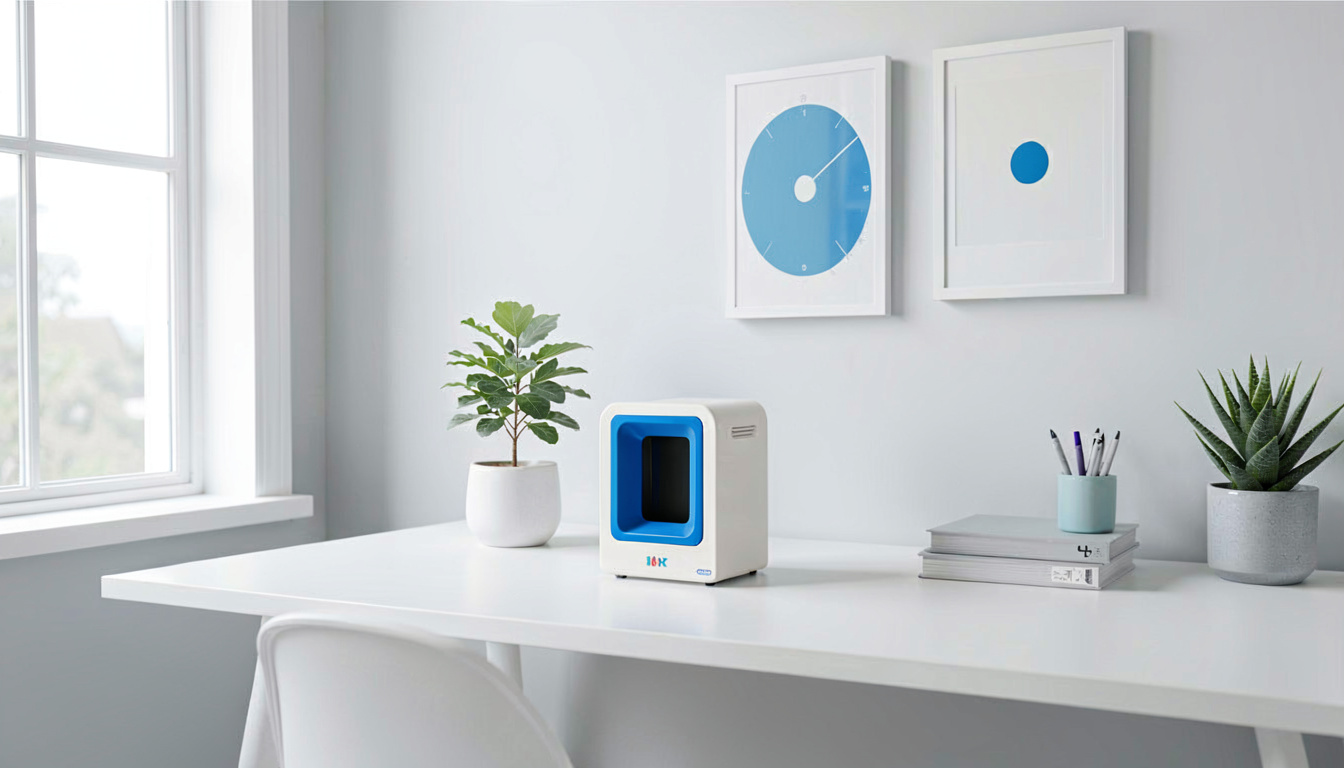
A hardware colorimeter is a small sensor that hangs over the front of your display and reads the actual light output, then generates a precision ICC profile that corrects for white point, luminance, gamma, and gamut without you guessing. The device measures what your eye cannot.
Datacolor’s Spyder X2 and Calibrite’s Display Plus HL are the current bench players as of 2026. Both use a lens-based sensor system that sits directly against the panel during measurement, blocking ambient light and reading the screen through a calibrated optical path.
You run the included software, it flashes dozens of color patches on-screen while the device records the output, and a profile is built that translates what your GPU sends into what your monitor actually shows.
The output difference between a visual calibration and a hardware calibration is immediately obvious. Shadows separate. White is genuinely white—not slightly pink or green. A gradient from 0 to 255 shows smooth, band-free transitions.
What settings do colorimeters actually adjust?
The sensor doesn’t physically change your monitor’s color temperature knob. Instead, it measures your monitor’s raw output across a range of RGB values, calculates how far off the target it is, and writes that correction into an ICC profile your operating system applies at the GPU level.
During measurement, the software prompts you to manually set contrast and brightness using your monitor’s OSD to bring luminance into range. Once that’s close, the software handles the rest through the profile.
This two-stage approach nets the most accurate result because contrast is a physical backlight property; gamma and white point corrections are digital.
Why do hardware-calibrated monitors cost more?
Some high-end displays—Eizo ColorEdge, BenQ SW series, ASUS ProArt with built-in calibration—store the LUT internally in the monitor hardware, not in the GPU. The colorimeter plugs directly into the monitor’s USB port and the calibration is written to the monitor itself.
This means the profile survives operating system reinstalls, cable swaps, and GPU changes. It also means 14-bit or 16-bit internal processing rather than 8-bit GPU LUT corrections, delivering smoother gradients.
For most home office users, an external colorimeter writing a GPU-level ICC profile is more than sufficient. The difference in color accuracy between a hardware-calibrated Eizo and a well-profiled Dell UltraSharp is measurable but not eye-visible for sRGB web work.
How do lighting and workspace setup affect calibration accuracy?
Ambient light changes how your eye perceives color on-screen, which means calibration without controlling room light is like mixing paint in a room lit by a red bulb—you’ll overcorrect and still miss the mark. The setup around your monitor matters as much as the monitor itself.
A 6500K white point looks neutral under 6500K ambient light. Under warm 2700K incandescent, the same screen looks blue and cold, tempting you to warm the profile.
Under cool 5000K office fluorescents, it looks yellow. Calibrating in a room with mixed daylight and warm bulbs means your profile will be wrong the moment any lighting condition changes.
The fix is a two-part approach. First, control the light. Close curtains on windows that cast direct sun onto your desk. Kill overhead fluorescent tubes if possible and switch to fixed-color-temperature LED bulbs set to 5000K or 6500K. Then prevent monitor glare.
The second piece is bias lighting—a D65-neutral LED strip stuck behind the monitor that washes the wall with the same color temperature as your target white point, creating a consistent surround reference.
Glare and reflections are contributors to eye fatigue and awkward head positioning.
Tilting your head to dodge a window reflection from your shiny panel hour after hour isn’t just annoying—it’s a repetitive strain that over weeks and months builds into the kind of neck and shoulder tension that occupational safety research classifies as a musculoskeletal disorder pathway.
Does position and distance matter for color accuracy?
Yes—most IPS and VA panels exhibit color shift and brightness falloff when viewed off-axis, making consistent head position essential for accurate color perception. Center your eyes at the top bezel of the display and sit roughly 20-24 inches away. Any lower and you’re looking up at the screen from a shallower angle, which darkens the top and lightens the bottom.
This is also where ergonomic positioning intersects with calibration. A properly adjusted monitor arm lets you set the screen at a fixed height and tilt that aligns your gaze straight-on, reducing the micro-adjustments in posture that cause fatigue.
Paired with an ergonomic chair that supports upright seating, you avoid the slow slump into a forward-head position that identifies as a primary risk factor for carpal tunnel syndrome and other upper-extremity repetitive stress injuries (RSIs).
Carpal tunnel syndrome is a form of RSI that develops when inflamed tissues in the wrist compress the median nerve—often triggered by poor keyboard-to-monitor alignment that forces awkward arm angles.
An ergonomic chair that positions you at the correct height above your desk prevents the collapsed posture that cascades down into wrist pressure. The connection sounds indirect, but the entire workstation chain matters: calibrated screen at eye height, chair supporting neutral spine, arms level with the keyboard deck.
What are the most common calibration mistakes?
Most of these mistakes produce a display that looks “good enough” for email but ruins prints, web color matching, and batch-edited work. The trouble is you won’t notice until you see your photo on a client’s screen or pick up a print that looks nothing like your edit.
Calibrating after turning on a cold monitor
A backlight needs roughly 30 minutes to reach thermal stability. At startup, the panel is cooler and physically emits different color output.
Many people run the calibration wizard immediately after booting up and lock in a profile based on the monitor’s warm-up temperature. When the backlight settles, the profile is already inaccurate.
Setting brightness too high for print matching
This is the single most common error in the entire calibration workflow. If your screen luminance sits at 200 cd/m² but the print looks dark and muddy, you’ll naturally boost shadows in editing to compensate.
The result is an underexposed print every time. 120 cd/m² is the standard target for print-matching accuracy, with 80–100 for very dark rooms.
Ignoring ambient light changes
Calibration done under bright noon sun produces a different visual perception than the same display at midnight under a warm desk lamp.
If the room changes, the calibration is effectively invalid for one set of conditions. Bias lighting buys you consistency, but ignoring ambient drift entirely means your prints and exports will vary by time of day.
Skipping validation after creating the profile
A calibration profile can pass through the software without errors but still deliver a mediocre result due to measurement errors—sensor slip, a USB glitch, a bad patch read.
Validation runs a separate measurement pass and reports the average delta-E (deviation from target) and maximum error. If your average delta-E is above 2 after calibration, the profile didn’t take. Rerun it.
How do I maintain color accuracy over the long term?
Recalibrate on a fixed schedule, keep your room lighting constant, understand your monitor’s aging curve, and periodically validate with known reference images. Backlight LEDs and CCFLs lose brightness and shift color temperature as they age, with the most rapid drift happening in the first 200-300 hours of use, and a slower linear drift continuing through the display’s lifespan.
A brand-new monitor should be calibrated immediately, then again after about a week of use—roughly 50-80 hours—to compensate for the initial rapid-drifting period. After that, a two-week cadence is ideal.
If your workflow includes color-critical print or video work, weekly recalibrations aren’t overkill. Software from Datacolor and Calibrite can schedule reminders automatically.
Monitor aging is also why many professional environments standardize on a single display model and calibrate all panels to the same target values. ‘s workplace safety guidance encourage equipment uniformity to reduce the variability that leads to operator error and strain—a principle that applies as much to visual accuracy as it does to physical ergonomics.
“A display that remains stable for five years out of the box is a rarity. Most consumer and prosumer monitors drift by an average delta-E of 1.5 to 3 per month without recalibration.
For color-critical work, any profile older than 30 days introduces measurable, visible error that compounds across an editing pipeline.”
What reference images should I use to spot-check accuracy?
Validation doesn’t require a colorimeter every time. A folder of known reference images—portraits with diverse skin tones, landscapes with neutral grays and natural greens, product shots with known brand colors—serves as a quick visual check.
If the skin looks jaundiced or the grass looks neon, something is off. Open those images in a color-managed application (Photoshop, Lightroom, or a color-managed browser like Firefox with color management enabled) and compare to a known-accurate print or a second calibrated display side by side.
The larger ergonomic picture matters here too. An anti-fatigue mat beneath a standing desk setup, a monitor at the correct eye height on an adjustable arm, and supportive seating from an ergonomic chair collectively reduce the physical strain that identifies as precursors to carpal tunnel syndrome and other RSIs.
A standing desk that allows frequent position changes throughout the day further prevents the static loading on the spine that contributes to musculoskeletal disorder risk over years of desk work.
Noise-canceling headphones round out the ergonomic equation by reducing the ambient stress that tenses shoulders and neck muscles during focused work.
None of these products directly affect calibration, but a relaxed, upright posture at an eye-level, calibrated display is the difference between a workstation that hurts you and one that sustains you long-term.
Repeat strain injuries are caused by poor ergonomics; the calibration piece is part of keeping your visual system from joining that list.
Frequently Asked Questions
How often should I recalibrate my monitor?
Every 2-4 weeks is the industry recommendation for color-critical work. Backlights drift steadily as they age, and a month-old profile can exceed a delta-E of 3, which is visibly noticeable in side-by-side comparisons.
New monitors drift fastest in the first 200-300 hours, making weekly recalibrations useful during that initial break-in period.
Can I calibrate a laptop screen accurately?
Yes, but with limits. Most laptop panels have narrower color gamuts and lower bit depths than external monitors, so they won’t approach Adobe RGB coverage regardless of calibration.
A colorimeter still improves white point and gamma accuracy significantly. The complication is that laptop screens shift dramatically with slight tilt-angle changes—you must keep the lid angle consistent.
What’s the difference between calibration and profiling?
Calibration adjusts the physical settings of the display—brightness, contrast, RGB gains—to bring it as close as possible to a target state. Profiling measures the remaining imperfections and writes an ICC profile that software uses to compensate. Calibration gets you in the ballpark; profiling corrects the last mile.
Do I need a colorimeter if I only work on the web?
If you do any image editing, design work, or product photography destined for the web, a colorimeter is highly recommended.
Color shifts that are invisible on your uncalibrated screen can make your images look desaturated or tinted on properly calibrated and mobile OLED displays. Web users are increasingly browsing on devices with excellent color accuracy.
Does macOS or Windows handle calibration better?
macOS has a more robust system-level color management engine (ColorSync) and handles ICC profiles more consistently across applications.
Windows relies on individual apps to respect color profiles, which means more variability—Photoshop will use your profile while default Windows photo viewer may ignore it. This is an OS architecture difference, not a calibration quality issue.
Related Articles
- Monitor Calibration Guide for Accurate Colors — The complete walkthrough from first setup to ongoing maintenance
What This Gear Does Not Do Well
However, even the most meticulous calibration cannot overcome the limited color gamut and poor uniformity of a budget panel, which means some hues simply remain out of reach.
A key tradeoff is that hardware calibration with a colorimeter delivers superior accuracy but demands a recurring investment of both money and time, as sensors must be re-profiled to compensate for gradual display drift.
Ambient light shifts throughout the day pose another limitation, often requiring a strictly controlled room environment to prevent subtle color casts from undoing your precise settings.
Sources and Further Reading
The guidance in this article draws on published material from the following organizations:
- Computer workstations: monitors — Occupational Safety and Health Administration
- Ergonomics and musculoskeletal disorders — National Institute for Occupational Safety and Health
- Computer workstations: keyboards — Occupational Safety and Health Administration
Last updated: August 29, 2026