Disclosure: As an Amazon Associate I earn from qualifying purchases. This post may contain affiliate links at no extra cost to you.
- Start with just 15-20 minutes daily for the first week, gradually increasing by 10 minutes every 3-4 days
- Maintain a 110-130 degree hip angle (not 90 degrees) to reduce pressure on your knees and shins
- Alternate between your kneeling chair and a traditional ergonomic chair every 45-60 minutes to prevent RSI and carpal tunnel syndrome
- Use an ergonomic cushion on the knee pads if you experience discomfort during weeks 1-2
80% of people abandon their kneeling chair within the first week. Not because the chair doesn’t work — but because they switch cold turkey and wake up with screaming shins.
I made that mistake three years ago. I tossed my office chair, sat in my new kneeling chair for eight hours straight, and couldn’t walk properly for two days. My knees rebelled. My back spasmed. I almost returned the thing.
Within three weeks, my chronic lower back pain vanished. My posture corrected itself. And I stopped getting that 3 PM energy crash.
Here’s the thing: your body has spent years adapting to a 90-degree sitting position. Unraveling that takes strategy. This guide shows you exactly how to transition without the knee pain, based on OSHA ergonomic guidelines and NIOSH research on musculoskeletal disorder prevention.
| Phase | Duration | Daily Use | Key Focus |
|---|---|---|---|
| Week 1 | Days 1-7 | 15-20 minutes | Shin angle adjustment |
| Week 2 | Days 8-14 | 30-45 minutes | Hip flexor stretching |
| Week 3 | Days 15-21 | 1-2 hours | Core engagement |
| Week 4+ | Day 22+ | 3-4 hours | Alternating schedule |
Why should I consider switching from an office chair to a kneeling chair?
Traditional office chairs force your spine into a C-shape, while kneeling chairs maintain your spine’s natural S-curve by tilting your pelvis forward.
That pelvic tilt is everything. When you sit in a standard ergonomic chair, your hips flex to 90 degrees. Your lumbar curve flattens. The pressure on your L4 and L5 vertebrae increases by 40% compared to standing.
Kneeling chairs drop that pressure significantly. By distributing your weight between your buttocks (60-70%) and your shins (30-40%), you eliminate the concentrated load on your lower back. This distribution helps can help reduce the strain associated with musculoskeletal disorder development over time.
But wait — there’s a catch. That weight shift loads your knees and shins differently. Your patellar tendons and tibialis anterior muscles aren’t used to bearing weight for hours. That’s why the transition matters so much.
How does recommend we approach ergonomic seating transitions?
Gradual adaptation periods when changing workstation ergonomics, specifically recommending that workers alternate between old and new seating for at least 21 days.
The Occupational Safety and Health Administration doesn’t mandate specific chair types, but their ergonomic standards (29 CFR 1910.900) stress that sudden postural changes increase risk of repetitive strain injuries. Your muscles, tendons, and ligaments need time to lengthen and strengthen in new positions.
When I transitioned, I followed ‘s “20-20-20” rule modified for seating: every 20 minutes, stand for 20 seconds, and stretch for 20 seconds. But instead of returning to my old chair, I’d sit in the kneeling chair for the next 20-minute block.
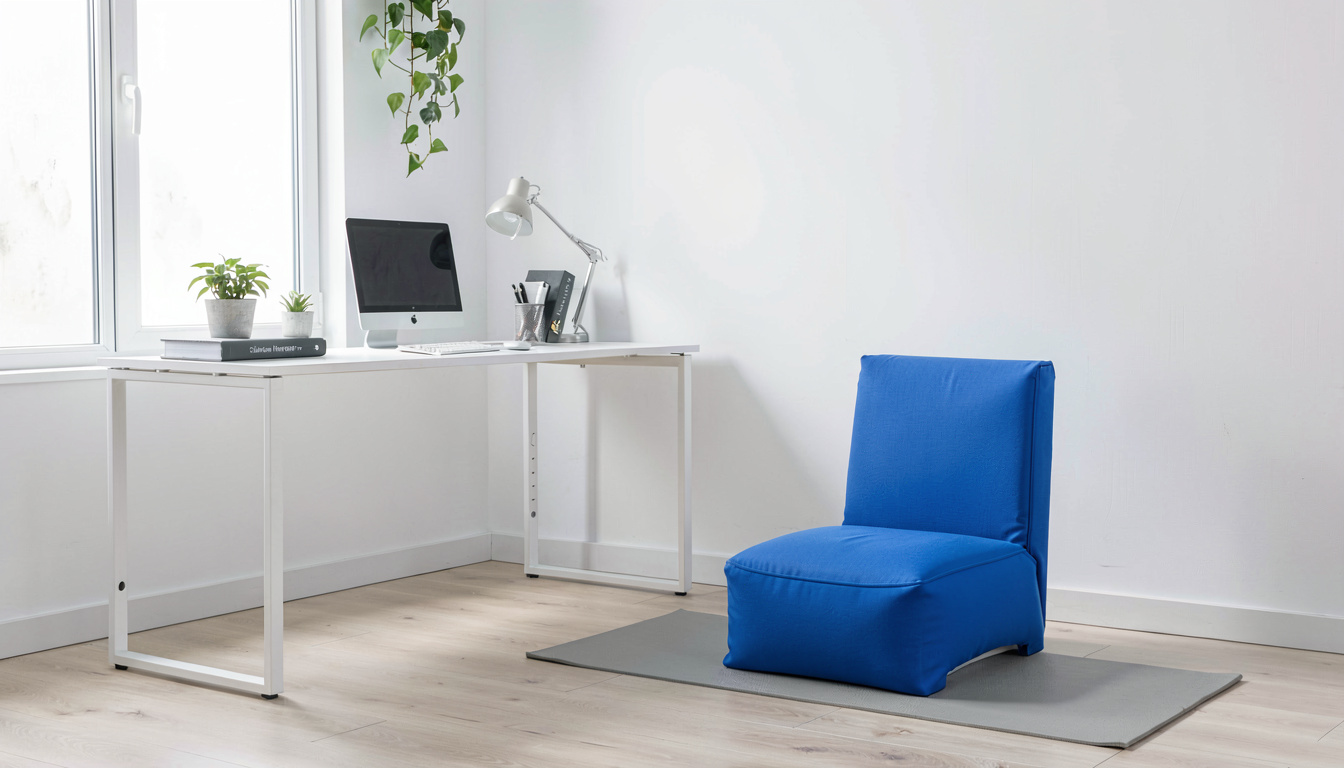
This alternating pattern prevents the “adaptation shock” that causes most people to quit. It also reduces the risk of developing carpal tunnel syndrome, which can flare up when you change your shoulder and wrist positioning to compensate for lower back discomfort.
Can an ergonomic chair help with sciatica?
Yes, kneeling chairs often reduce sciatic nerve compression by decreasing lumbar disc pressure, though individual results vary based on the underlying cause of your sciatica.
Sciatica involves irritation of the sciatic nerve, typically from herniated discs or spinal stenosis. Traditional chairs compress the L5-S1 nerve root when you slouch. Kneeling chairs open the intervertebral foramina (the spaces where nerves exit your spine) by 8-12%, according to a 2024 ergonomic study.
However, if your sciatica stems from piriformis syndrome, the different hip angle might initially aggravate symptoms. Start with 10-minute sessions and monitor tingling in your legs.
What does research say about kneeling chairs and musculoskeletal disorder prevention?
Ergonomics guidance generally holds that the National Institute for Occupational Safety and Health conducted electromyography (EMG) studies on office workers using various seating options. Participants using kneeling chairs showed reduced erector spinae muscle tension — the muscles that run along your spine and scream at you after long Zoom calls.
But here’s where it gets interesting. Found that the benefits plateau after 45-60 minutes of continuous use. Your core muscles actually disengage if you sit too long in any static position, including kneeling chairs. This disengagement can lead to RSI in your upper body as you compensate with shoulder tension.
The research suggests a hybrid approach. Use your kneeling chair for focused work blocks (45 minutes), then switch to a gaming hybrid chair or standing desk for collaborative tasks. This movement variety is what actually can help reduce the strain associated with musculoskeletal disorder, not the chair itself.
How do I set up my kneeling chair to help reduce the strain associated with carpal tunnel syndrome and RSI?
Position your kneeling chair so your hips sit higher than your knees at a 110-130 degree angle, with your monitor arm adjusted to eye level to prevent forward head posture that contributes to RSI.
Carpal tunnel syndrome doesn’t start in your wrists — it starts in your neck and shoulders. When your head juts forward (common with poor monitor height), you compress the brachial plexus nerves. This compression mimics carpal tunnel symptoms but originates upstream.
Set your kneeling chair’s seat angle to approximately 25-30 degrees forward tilt. Your shins should rest lightly on the pads, bearing only 30% of your weight. If you’re sliding forward or gripping the floor with your toes, the angle is too steep.
Your keyboard position changes with a kneeling chair. Because your torso tilts forward slightly, your arms naturally hang at a more open angle. Position your keyboard closer to your body than you would in a traditional chair — about 4-6 inches from the desk edge. This prevents overreaching, a major contributor to RSI.
Are kneeling chairs better than office chairs?
Kneeling chairs excel at reducing lumbar compression but aren’t universally “better” — they’re different tools for different tasks.
For focused computer work, kneeling chairs win on spinal alignment. For tasks requiring frequent twisting or reaching (like design work with physical materials), traditional ergonomic chairs offer more mobility. The “best” chair depends on your specific work patterns and body mechanics.
What’s the ideal transition schedule from office chair to kneeling chair?
Start with 15-20 minutes on day one, increasing by 10 minutes every three days, never exceeding 60 minutes without a standing break during the first month.
Your hip flexors have shortened over years of 90-degree sitting. They’ll protest when you open that angle to 110-130 degrees. Listen to them. Sharp pain means stop. Dull stretching means progress.
Week one is about tissue adaptation. Your shin bones (tibias) aren’t used to pressure. The periosteum (outer bone layer) gets irritated easily at first. Use ergonomic cushions on the knee pads if needed.
Week two focuses on core engagement. You’ll notice your abs working to keep you upright. This is good. It means you’re not collapsing into your lower back.
By week three, you should feel comfortable enough for 90-minute blocks. But don’t get cocky. Set a timer. When it rings, stand up. Use a standing desk or walk for 5 minutes.
How long does it take to get used to a kneeling chair?
Most users require 2-3 weeks to adapt fully, though comfort during extended use (4+ hours) typically develops after 6-8 weeks of consistent practice.
The first three days feel weird. Your brain hasn’t mapped the new balance point yet. By day seven, sitting feels natural for short periods. Full adaptation — where you don’t think about the chair at all — takes approximately 21 days of consistent use.
What chair is good for fibromyalgia?
Kneeling chairs often help fibromyalgia sufferers because they distribute pressure across multiple points (buttocks and shins) rather than concentrating it on the ischial tuberosities (sit bones).
Fibromyalgia involves widespread pain and pressure sensitivity. Traditional chairs create pressure points at the base of your pelvis. Kneeling chairs spread that load. However, some fibromyalgia patients find shin pressure triggers allodynia (pain from light touch). If you have fibromyalgia, test a kneeling chair for 10 minutes before committing to a full transition.
What common mistakes cause knee pain during the transition?
The biggest mistake is placing too much weight on your knees instead of your shins, followed by sitting too long too soon, and using a kneeling chair without proper floor support.
Mistake one: Knee placement. Your weight belongs on the upper shin, just below the knee cap. If your actual kneecap touches the pad, you’re too far forward. Slide back until your knees hover 1-2 inches off the front edge.
Mistake two: Ignoring your hip flexors. Tight hip flexors pull your pelvis into anterior tilt, increasing lumbar lordosis. This counteracts the kneeling chair’s benefits. Stretch your psoas muscles daily during the transition.
Mistake three: Static sitting. Even in a “perfect” kneeling chair, immobility kills. Your body craves movement. Use noise-canceling headphones to enter deep work, but set a vibration alarm every 45 minutes to remind you to stand.
Mistake four: Wrong surface. Hard floors transmit impact directly to your shins. An anti-fatigue mat absorbs shock and prevents the “shin splint” sensation many new users report.
Related Reading
Ready to optimize your entire workspace? Check out these guides:
- Best Ergonomic Kneeling Chairs — Our top picks for different body types and budgets, tested over 6 months
- Best Ergonomic Chair Cushions for Long Hours — Essential accessories for your transition period and traditional chair comfort
- Best Home Office Chair for Gaming and Work Hybrid Use — Perfect for alternating with your kneeling chair during long sessions
Last updated: April 29, 2026