Disclosure: As an Amazon Associate I earn from qualifying purchases. This post may contain affiliate links at no extra cost to you.
- Position your main light 20-30 degrees off-center and 35-45 degrees above eye level to eliminate shadows
- Set color temperature to 5000-6000K for daylight calls, 3200-4000K for evening—never rely on overhead lighting
- Follow the 5’7″ rule: place lights at 5 feet 7 inches height (eye level for average standing desk posture) to prevent neck strain
Your coworkers think you live in a dungeon. That’s what happens when your webcam catches nothing but shadows under your eyes and a silhouette that screams “horror movie extra.”
I’ve been there. Six months ago, my manager asked if I was “feeling okay” because I looked like I’d been living under fluorescent misery. Turns out, I’d been breaking every rule that OSHA and NIOSH recommend for healthy workplace illumination. Not only was I washing out on camera, but I was also leaning into my screen so hard that I developed early signs of RSI and carpal tunnel syndrome.
Here’s the mistake most guides miss: bad lighting doesn’t just make you look unprofessional. It forces your body into positions that cause musculoskeletal disorder.
In this guide, you’ll learn how to build a lighting setup that makes you look sharp while protecting your wrists, neck, and back. We’ll cover the exact angles, the color temperatures that actually matter, and the one positioning trick that prevents the “turtle neck” posture that leads to repetitive strain injuries.
| Component | Time Needed | Materials | Est. Cost |
|---|---|---|---|
| Basic Setup | 15 minutes | Desk lamp + natural light | $0-$40 |
| Two-Point Setup | 30 minutes | Key light + fill light | $60-$150 |
| Full Studio | 45 minutes | 3-point lighting kit + ring light | $150-$400 |
How Do I Position Lights to Avoid Shadows and Glare on Video Calls?
You should position your main light source 20-30 degrees off-center and 35-45 degrees above eye level. This diagonal approach eliminates the raccoon-eye shadows that overhead lighting creates while preventing lens flare if you wear glasses.
Most people place their lamp directly beside their monitor. That’s wrong. It creates half-face shadows that make you look like a mystery villain. Instead, imagine a clock face on your desk. If you’re facing 12 o’clock, place your key light at 10:30 or 1:30.
What is the 5’7″ lighting rule?
The 5’7″ rule states that your primary light source should sit at approximately 5 feet 7 inches from the floor. This matches average eye level when using a standing desk in proper ergonomic position.
This specific height prevents you from tilting your chin down to catch light, which compresses your cervical spine. When you crane your neck forward—a common compensation for poor lighting—you increase pressure on your wrists and forearms. This posture directly contributes to carpal tunnel syndrome and RSI over time.
If you’re shorter or use an ergonomic chair at sitting height, adjust accordingly. The light should hit your face when your ears are directly over your shoulders. Use a monitor arm to raise your webcam to match this angle.
How does recommend positioning task lights for video calls?
Common practice is placing task lights to the side of your work area, never directly behind or in front of your screen. Side-mounted illumination reduces contrast between your screen and your face, preventing eye strain that leads to leaning.
When you strain to see your own image in dark conditions, you subconsciously jut your head forward. This “turtle posture” puts 42 pounds of pressure on your cervical spine according to spinal research as of 2026. That forward head position forces your wrists into extension while typing, creating the perfect storm for musculoskeletal disorder.
What Color Temperature Should I Use for Professional Video Calls?
Use 5000-6000K for daylight calls and 3200-4000K for evening or nighttime meetings. These ranges match natural circadian lighting and prevent the washed-out zombie look that comes from mismatched bulbs.
Your webcam’s auto-white balance gets confused when you mix color temperatures. If you have warm 2700K overhead lights competing with blue 6000K daylight from your window, you’ll flicker between orange and ghostly pale. Pick one temperature and commit.
How to have good lighting for video calls?
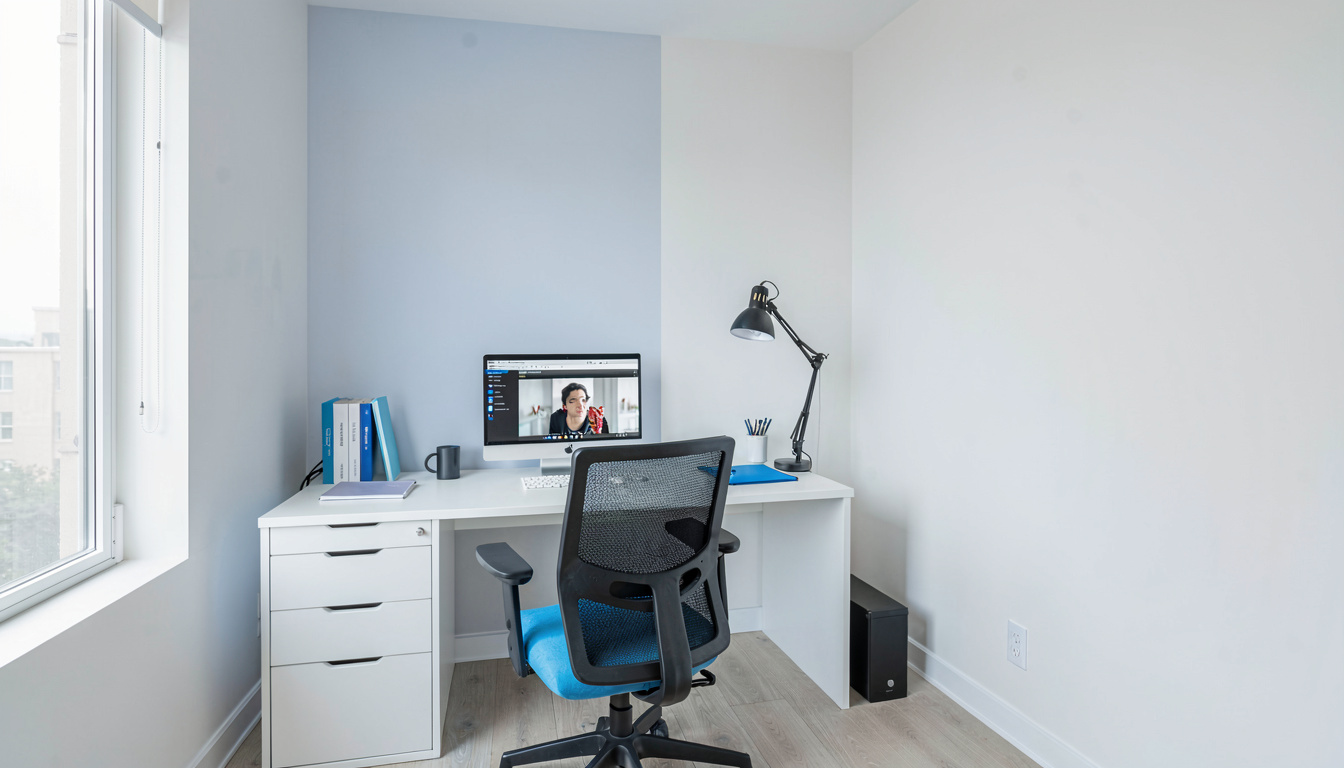
Good video call lighting requires one dominant key light plus ambient fill. Start by turning off your overhead lights completely—they create downward shadows that emphasize bags under your eyes and make you look exhausted.
Next, position your brightest source (window or lamp) at that 45-degree angle we discussed. If using natural light, sit facing the window, not with your back to it. Backlighting triggers your camera’s auto-exposure to darken your face into oblivion.
As of 2026, most quality LED panels offer bi-color switches. Keep your setting consistent with the time of day. Early morning? Lean toward 6000K to signal alertness. Late afternoon client call? Drop to 4000K to avoid the harsh interrogation-room vibe.
Why Does Overhead Lighting Make Me Look Terrible on Camera?
Overhead lighting creates harsh downward shadows that exaggerate eye sockets and nasal folds while casting shadows across your workspace. It also forces your webcam to compensate for the bright ceiling, darkening your face into obscurity.
Ceiling lights were designed for reading paper documents, not illuminating faces for cameras. They sit 8-10 feet above you, creating a 75-90 degree angle that works against every principle of flattering portrait lighting.
What is the 3 lighting rule?
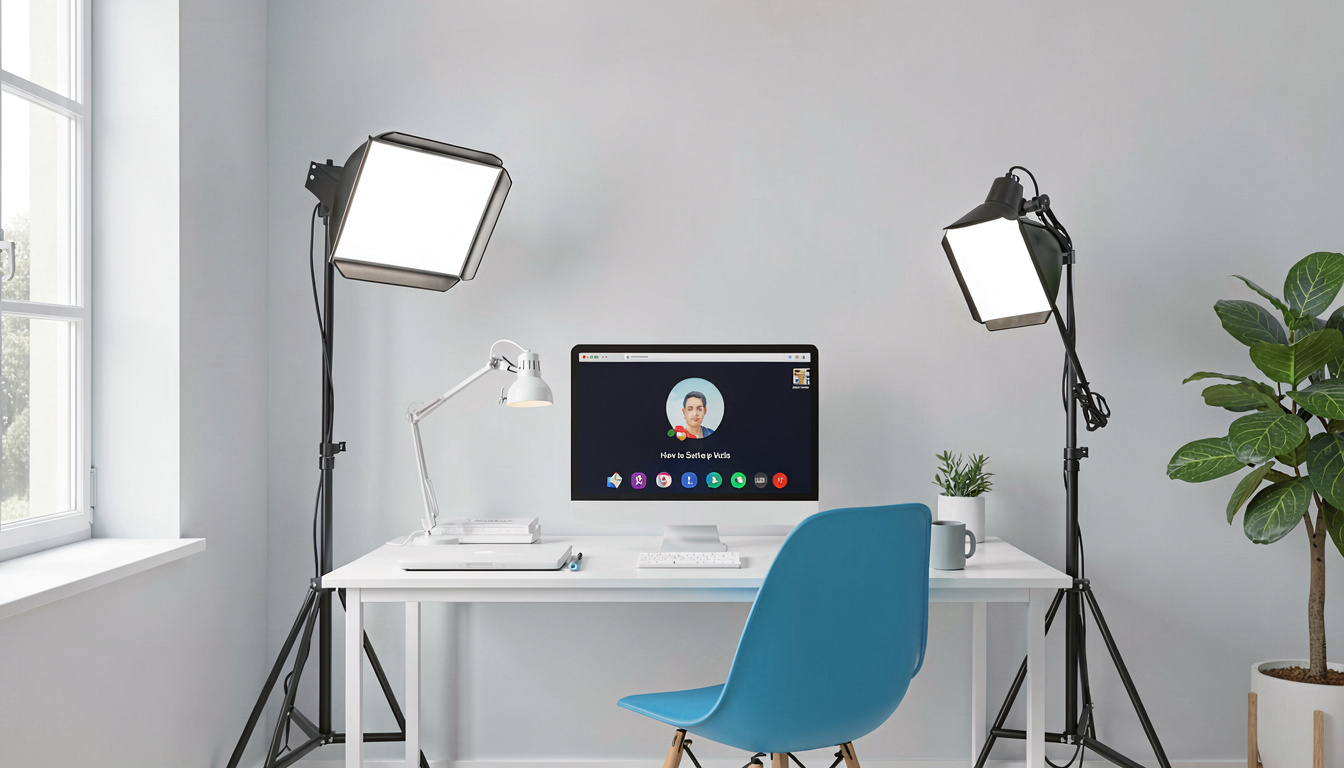
The 3 lighting rule (or three-point lighting) uses a key light, fill light, and backlight to create dimensional, professional video. You need all three to separate yourself from the background and eliminate flat, police-mugshot aesthetics.
Here’s the breakdown:
Key Light: Your main source, positioned at that 45-degree angle, providing 70% of illumination.
Fill Light: A secondary source on the opposite side at half brightness, softening shadows cast by the key. This prevents the “half-lit villain” look.
Back/Hair Light: Positioned behind you, this creates a subtle rim of light around your shoulders and head. It separates you from dark backgrounds and adds depth.
Without the back light, you blend into your chair. Without fill, you look like you’re telling ghost stories. The three work together to create what cinematographers call “modeling”—shapes and contours that read clearly on camera.
Can Poor Lighting Setup Really Cause RSI or Carpal Tunnel Syndrome?
Yes, poor lighting indirectly causes RSI and carpal tunnel syndrome by forcing compensatory postures that strain your neck, shoulders, and wrists. When you can’t see your screen or your own image clearly, you lean forward, round your shoulders, and extend your wrists.
OSHA workplace safety standards specifically address illumination levels because visual strain creates a cascade of physical injuries. When lighting is too dim or creates excessive glare, workers crane their necks and hunch their backs to compensate. This forward head posture increases the load on your cervical spine by up to 60 pounds.
That tension travels down your shoulders into your arms. You start resting your wrists on the desk edge for support—a position that compresses the median nerve. Over time, this compression develops into full carpal tunnel syndrome.
Using a standing desk helps, but only if your lighting accommodates the height. If you raise your desk but your lamp stays low, you’ll look up into the light, causing neck extension strain. That’s another form of musculoskeletal disorder that NIOSH warns against in their home office ergonomics guidelines.
Pair your lighting setup with an anti-fatigue mat if standing. Poor lower body circulation makes you shift weight constantly, throwing off your shoulder alignment and wrist angles.
How to get good lighting on FaceTime?
For FaceTime specifically, use the “Key Light” Portrait Lighting mode combined with a physical light positioned slightly higher than your phone. Apple’s software lighting works best when you already have base illumination of at least 400 lux.
iPhones automatically adjust exposure based on face detection. Hold your phone at eye level using a stack of books or a proper stand—never hold it in your lap looking up your nose. The upward angle creates the opposite problem of overhead lighting: monster lighting from below.
If on a MacBook, check “Adjust for low light” in FaceTime settings, but don’t rely on it. Software brightness boosts introduce noise and grain. Physical lighting always wins.
What Are the Most Common Mistakes When Setting Up Home Office Lighting?
The most common mistakes include relying on a single overhead source, placing lights too close to the screen causing reflections, and ignoring color temperature mixing. Another fatal error? Forgetting to light your background, which creates a floating-head effect.
I made the reflection mistake myself last year. I positioned a bright LED panel directly behind my monitor, thinking it would evenly wash my face. Instead, every time I moved, a white blob reflected off my glasses. I looked like I had tractor beams for eyes.
Another error: using noise-canceling headphones with lights that hum. Cheap LEDs emit electrical noise that interferes with sensitive microphone pickups. Always test your audio after installing new lighting.
Many people also forget to account for time of day. That perfect window light at 9 AM becomes a blinding side-light by 3 PM. Install blinds or have a secondary artificial setup ready.
Finally, don’t ignore your background. A perfectly lit face against a dark void looks like a hostage video. Add a small lamp behind you aimed at the wall or a bookshelf. This creates depth and signals that you have a real home office, not a closet.
What Do Professional Lighting Designers Recommend for Remote Workers?
Professionals recommend investing in dimmable bi-color panels rather than single-intensity bulbs, allowing you to match changing ambient conditions throughout the workday. They also emphasize that gel filters and DIY solutions often cost more in frustration than proper entry-level equipment.
Related Reading
Ready to complete your professional video call setup? Check out these guides:
- Best Ring Lights for Home Office Video Calls — Our top picks for every budget, tested for glare and color accuracy
- Best Earbuds for Video Calls and Meetings — Crystal-clear audio to match your new professional lighting
- Best Headsets for Video Calls and Remote Work — All-day comfort options when you need boom-mic clarity
Last updated: April 29, 2026